

By Terri Hirning
Getting Started: Sizing Your Blanket
A weighted blanket is used for your child (or yourself) and is meant to cover their body, not as a “spread” for the bed. So, the first thing is to determine what size your child will need. My son is almost 4 and uses a “crib size” blanket and still has plenty of room for growth. Crib size is 36″ x 52″. I tend to use snuggle flannel on one side and cotton on the other. Fleece can be very hard to work with, especially if you are doing a large blanket and can be very hot. I made a twin size one out of fleece and it was a challenge! Anyways, start with your sizing and then next is figuring the weight.
Calculating the Weight
Standard weight is 10% of the child’s body weight plus one additional pound. So, if your child weighs 30 pounds, the blanket would weigh 4 pounds (10% of 30 = 3 + 1 pound = 4). I only use Poly Pellets, as stated by the manufacturer they are hypoallergenic and non-toxic. I find them at Michael’s or Joann’s, local fabric and craft stores in my area. As a tip, Joann’s usually has them cheaper as an everyday price than Michael’s does, but that could be a regional thing. They run about $4.99 – $6.99 for a 2-pound bag. I know others have used things like pennies, sand or beans but if you plan to wash this (which with kids it HAS to be washable) then poly pellets will be what you want. Other things have a tendency to rust, break down, disintegrate or become moldy.
Assembling the Blanket Shell
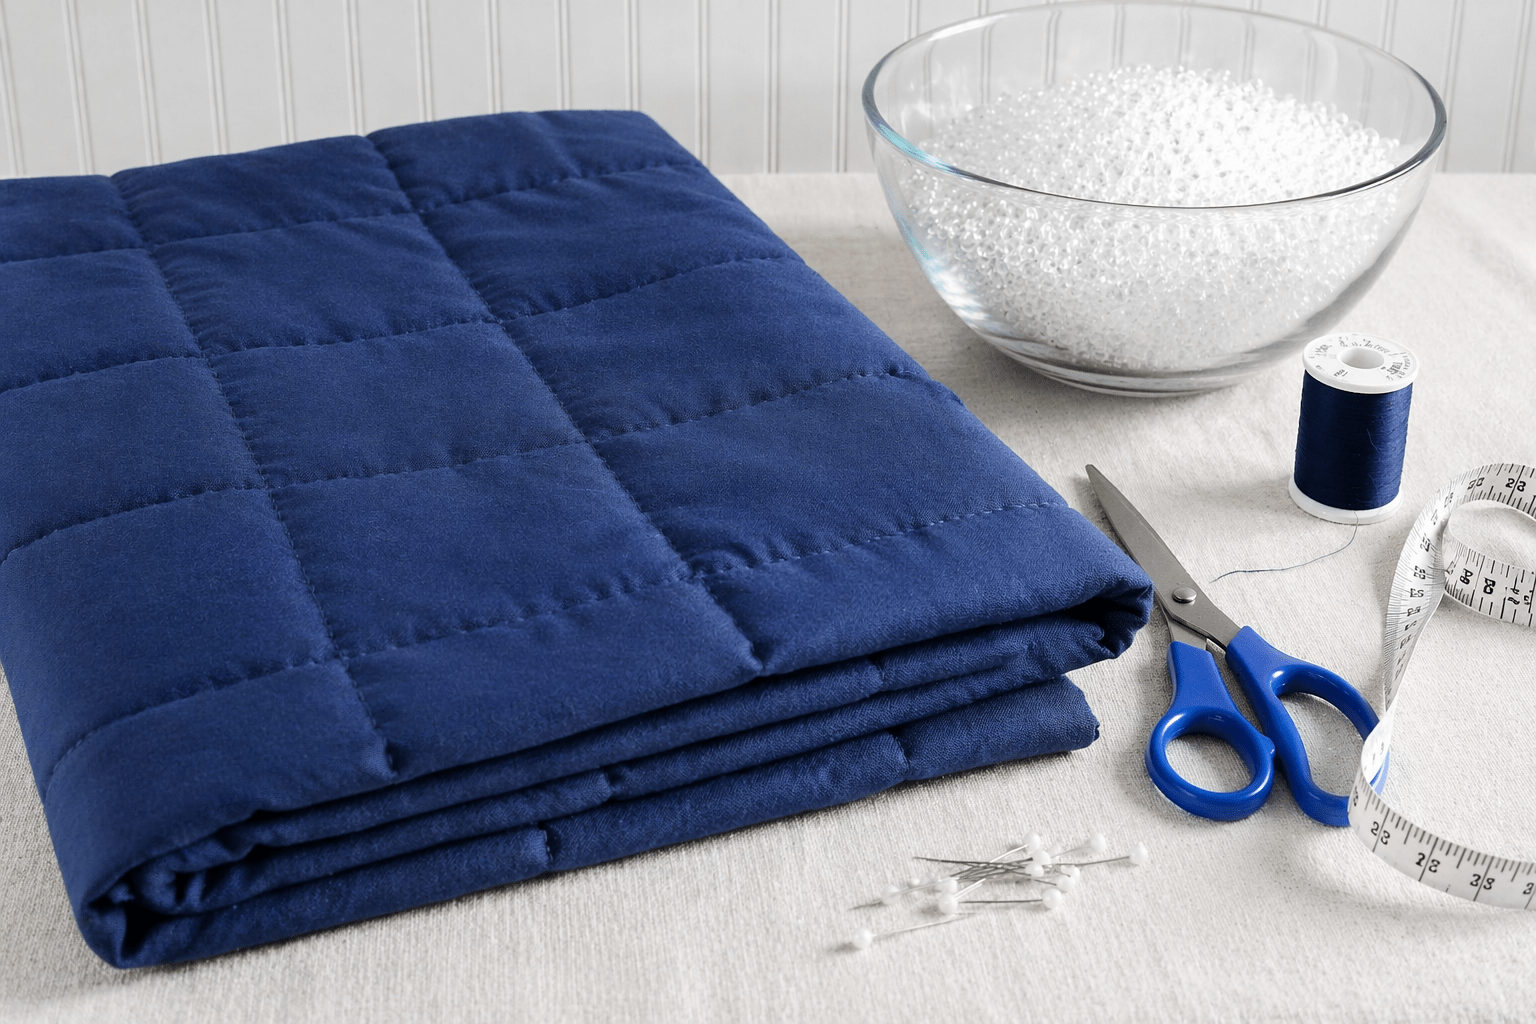
Once you have your fabric, pellets and thread, you are ready!! Lay the two pieces with the design side in, facing each other. The outside should be the back side of the fabric and the design should be face to face on the inside. Sew up 3 sides. I would suggest sewing up the two long sides and one of the shorter sides, leaving one short side open. Once you have those 3 sides sewn, turn it right side out through the open side. You will have basically a pillow case!
Sewing the Channels
Then, you will start sewing “channels” up the blanket. I usually start in the center of the blanket, at the bottom where it is sewn and sew a straight line all the way up to the open end. That basically divides the blanket in half. Then I go to one side and do the exact same thing, sewing channels up the middle of each section. I usually have channels that are about 4 inches wide. Once you get them that size you can stop sewing more. For a crib size blanket I usually end up with 8 long channels.
Marking the Cross Lines (Pockets)
Once you have your channels sewn, you figure out where the cross lines will go. You need to lay your blanket out and get your pins ready. My pockets are usually 3″ x 3″ or 4″ x 4″ so it is small enough to provide even weight distribution, but yet big enough for you to manage to sew — you’ll understand that more as you make a blanket. So, since you’ve hopefully sewed the channels on the long side, you will be sewing more cross channels because you are working down the length of the blanket. I lay the blanket out with the channels I’ve sewn laying horizontally, so going from left to right in front of me. Then I take my measuring tape and start measuring out, you can do simple division to determine whether you are using 3″ or 4″ depending on the total length of your blanket. Then you just pin every 3 or 4 inches to mark where you will sew. For a crib size blanket that usually comes to 13.
Filling the Pockets with Pellets
Now you are ready to fill! To keep the weight even, I use a measuring cup scoop (normally the 1/4 cup one) and depending on how many bags of pellets that’s how I figured out how many scoops per pocket. I usually get a bowl and count out the scoops per bag. Then I figure out how many channels I have based on the number of long channels already sewn and the number of pins I placed. That will give you the total number of pockets you will have and then you can figure out how many scoops to put in each channel. So, once you get that figured out, you start putting the scoops of pellets into each channel. Then you try and shake them all the way down and then sew across at your pin mark to make your first row of pockets. This is why it is good to be working with the long side hanging down. The pellets are very hard and did break my needles when I sewed over them on accident. I frequently have to lay the blanket out with the material ready in the sewing machine and manually push the pellets back down into their pocket so I can sew across without running one over. Sew across the channel to trap them in the pocket. Then you take the blanket out of the sewing machine and add another round of pellets in the channels. You just keep doing that until you get to the end. I just fold the ends in and sew across and viola — a weighted blanket.
Important Medical Disclaimer
The material contained within this document is not intended to replace the services and/or medical advice of a licensed health care practitioner, nor is it meant to encourage diagnosis and treatment of disease. This material has not been reviewed by the Food and Drug Administration (FDA). It is strictly for educational purposes only. Educational Resource Association (and associates/affiliates) does not accept legal responsibility for any problems arising from experimentation with the information described herein. Any application of suggestions set forth in the following portions of this document is at the reader’s discretion and sole risk. Implementation or experimentation with any supplements, herbs, dietary changes, medications, and/or lifestyle changes, etc., is done so at your sole risk and responsibility and should be discussed with your (or your child’s) personal physician first.